Start with one cooking relationship
Choose a main component before filling the remaining space. That may be a vegetable-and-chickpea dinner, a suitable protein with vegetables, or a tray that becomes part of a larger meal. Then consider what the plate still needs. A cold sauce, bread, or a crisp salad can finish dinner without claiming another section of the hot pan. Fewer dishes should mean less conflicting work, not a requirement to squeeze every ingredient through the same cooking step.
Put it to work
Useful tools, at a glance
Roasting and baking with an uncoated pan
Nordic Ware Naturals Half Sheet, 2-Pack
Cut for a common finish
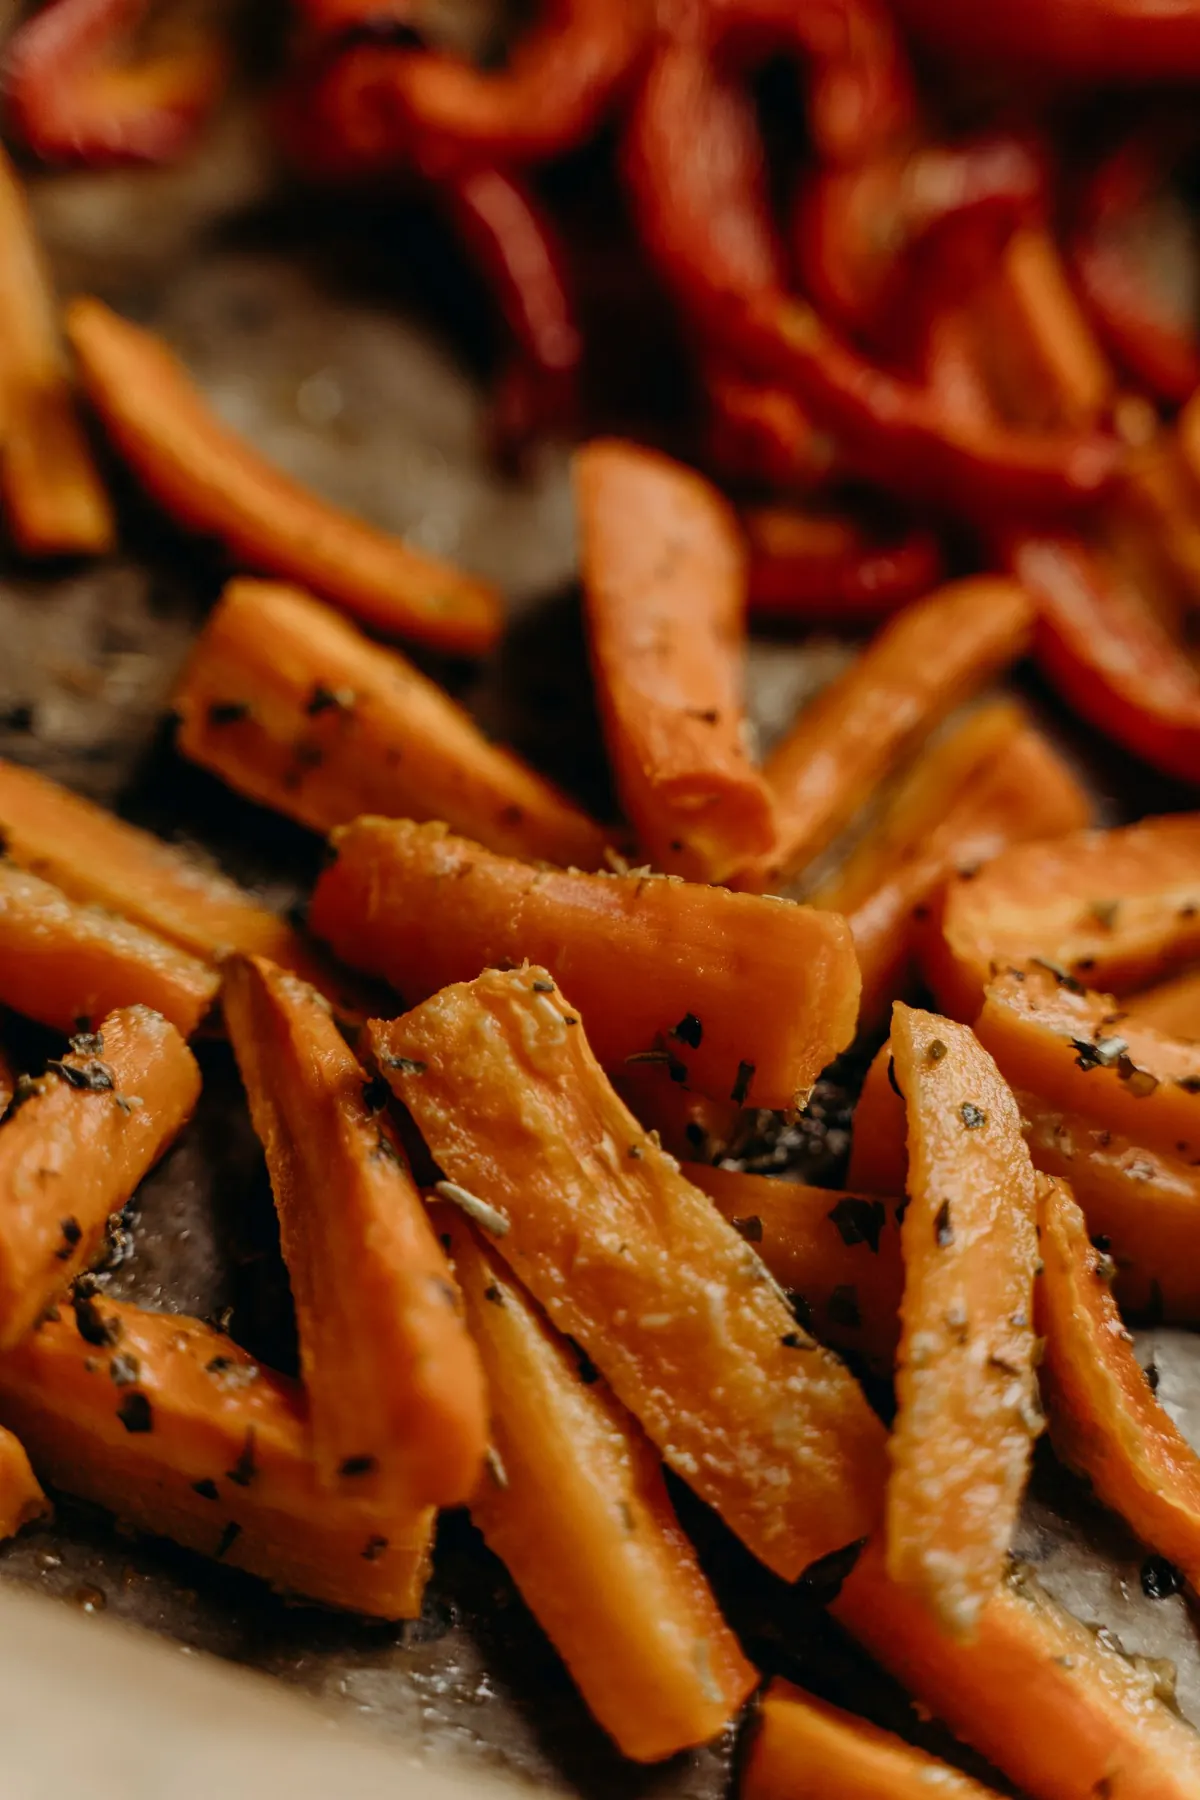
The size of a cut changes its cooking behavior. A thick carrot segment and a thin onion sliver can begin together but finish at very different moments. Think about the center as well as the surface: enough exterior color is not useful if a dense piece remains unpleasantly firm inside. Keep pieces of each ingredient reasonably consistent, then adjust the cuts between ingredients to make their schedules more compatible. This is a practical reason to sharpen your knife skills rather than a demand for decorative precision.
Consider moisture too. Vegetables with a lot of surface water can make the pan work harder before browning begins. Wash produce appropriately, dry it when the method calls for a dry surface, and keep wet sauces for the stage where they belong. Frozen vegetables have their own useful methods, but they should not be assumed to behave exactly like freshly dried pieces. Use a recipe designed for the ingredient's condition and take its arrangement and preheating instructions seriously.
Give browning enough room
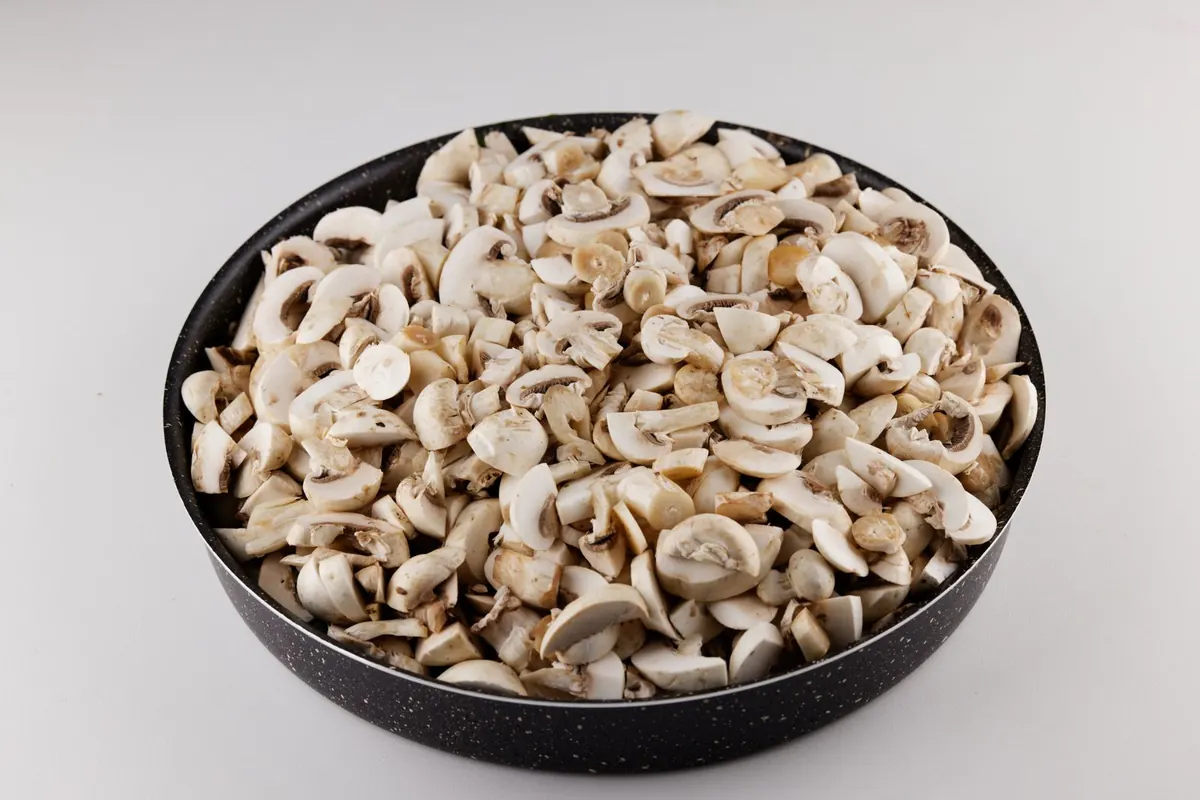
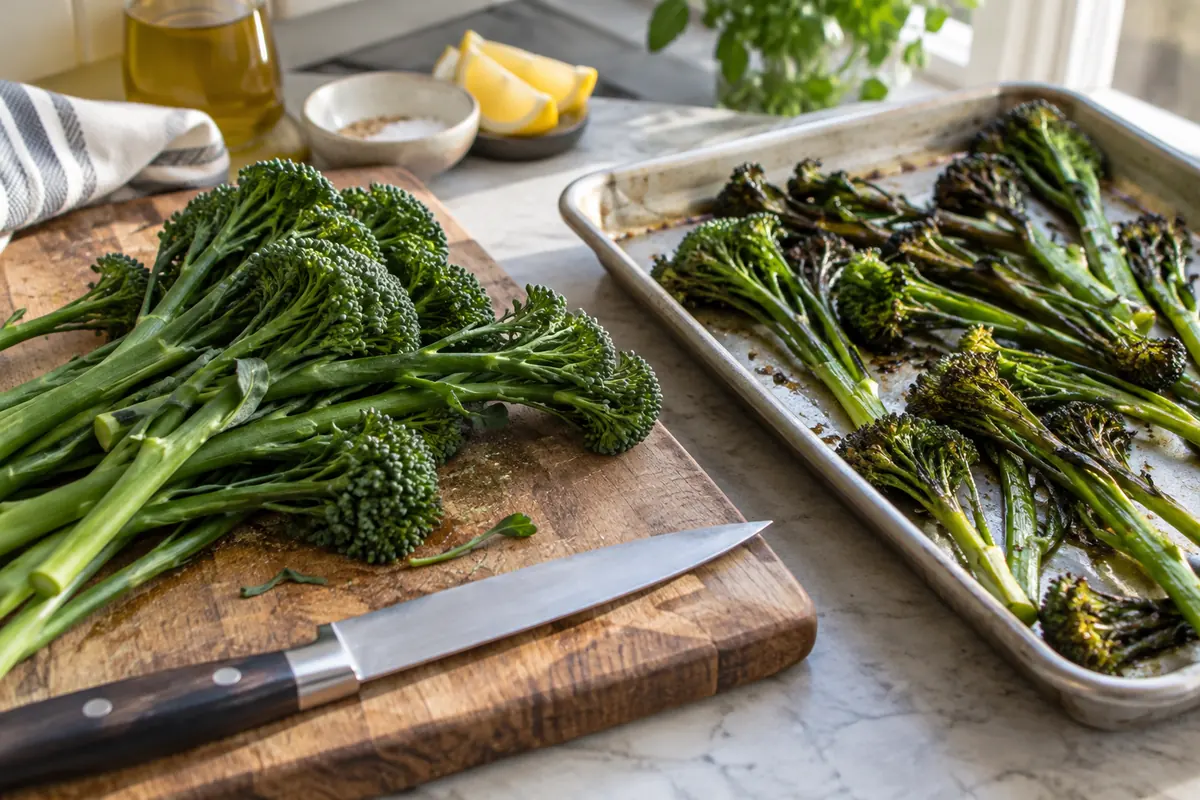
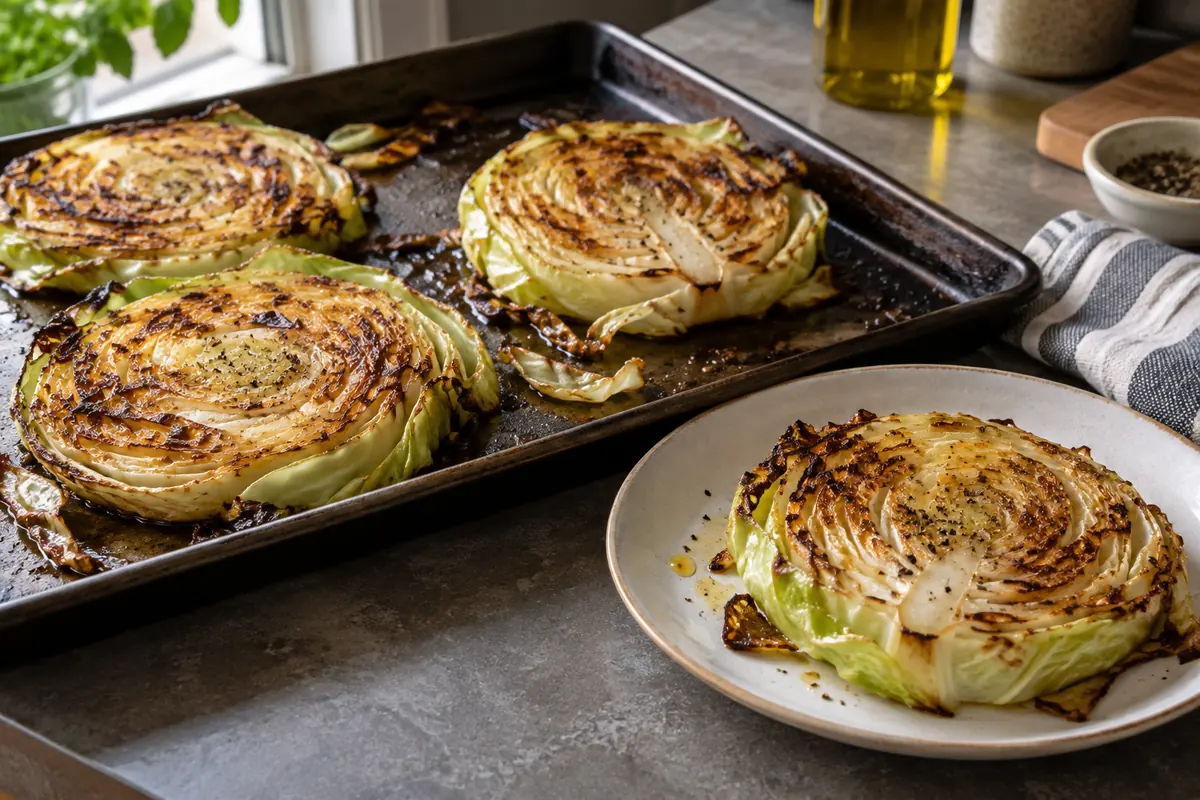
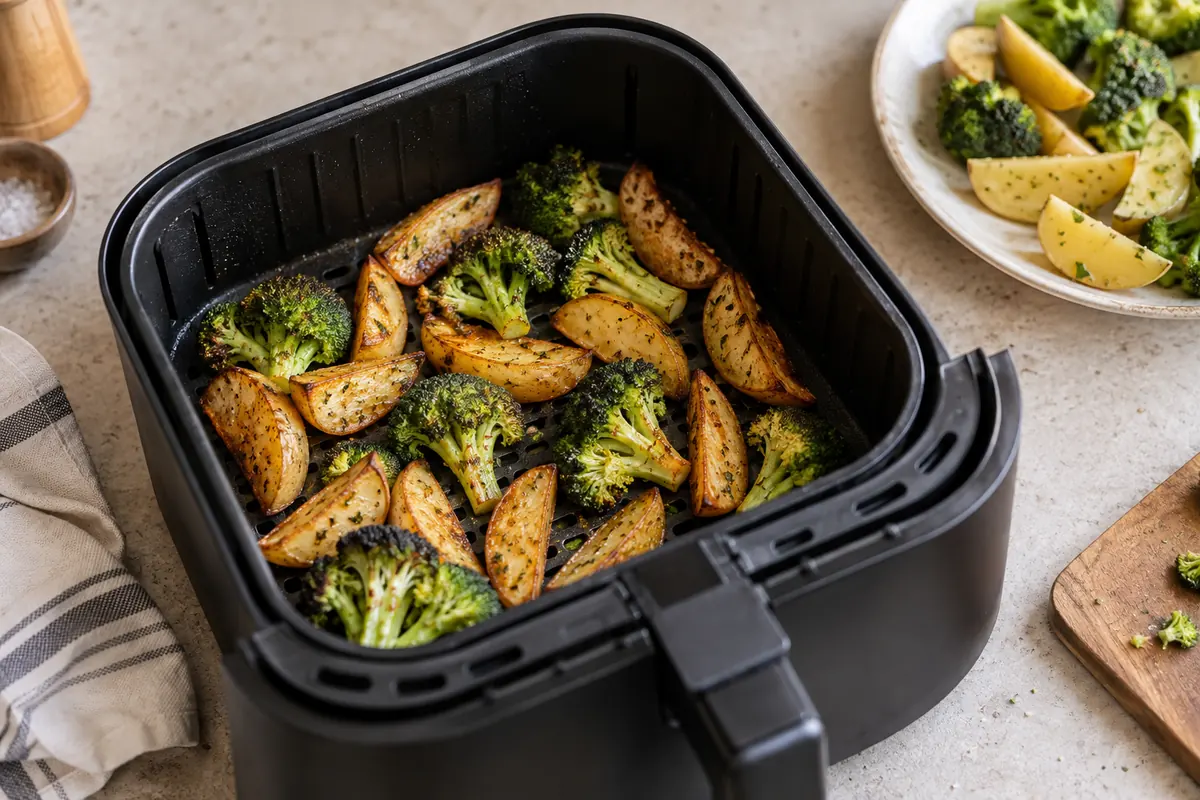
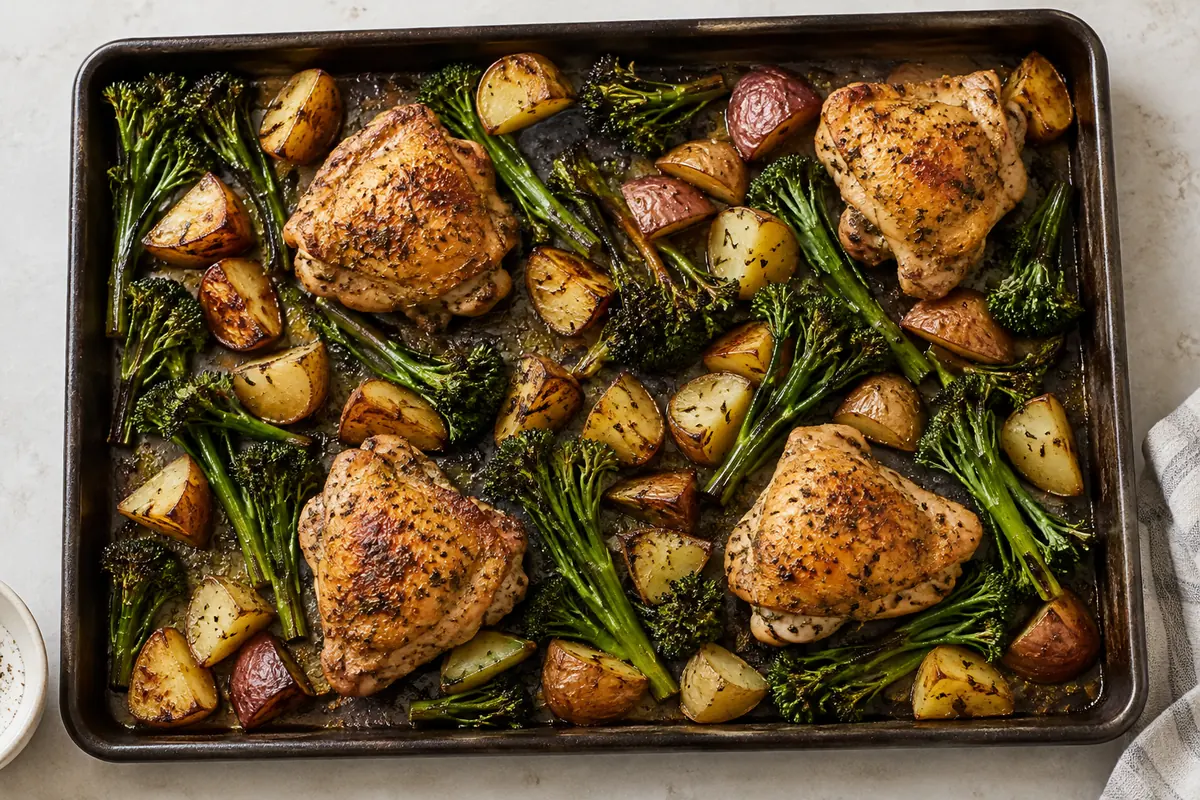
A pile may fit on the tray while still preventing the roast you want. When pieces are pressed together or stacked, less surface meets the hot air and pan. Some foods will still cook, but the texture may move toward soft and steamy rather than browned. Spread ingredients as the recipe directs and check whether the tray is really large enough for the quantity. If it is not, divide the food or choose a different dinner plan. An overfull tray is not a useful way to save washing.
Our half-sheet comparison and Nordic Ware quarter-sheet review cover verified dimensions and materials for different jobs. Measure the oven's usable space, including clearance for handling, before buying a bigger pan. The widest tray you can force through the door may not be the easiest one to lift when it is hot and loaded. Two smaller suitable trays can be more flexible, though using two oven levels may require the positioning and rotation described in the recipe. Equipment should fit both the oven and the person cooking.
Stagger the additions deliberately
Write the stages down before starting. Put the longer-cooking ingredient in first, prepare the next addition while it roasts, and set a reminder for the point when the tray needs attention. Use visual and texture checks as well as the clock. A head start that works for one cut may not work for a larger one. Keep the second addition ready in its own bowl so the oven door is not standing open while you finish chopping or search for a utensil.
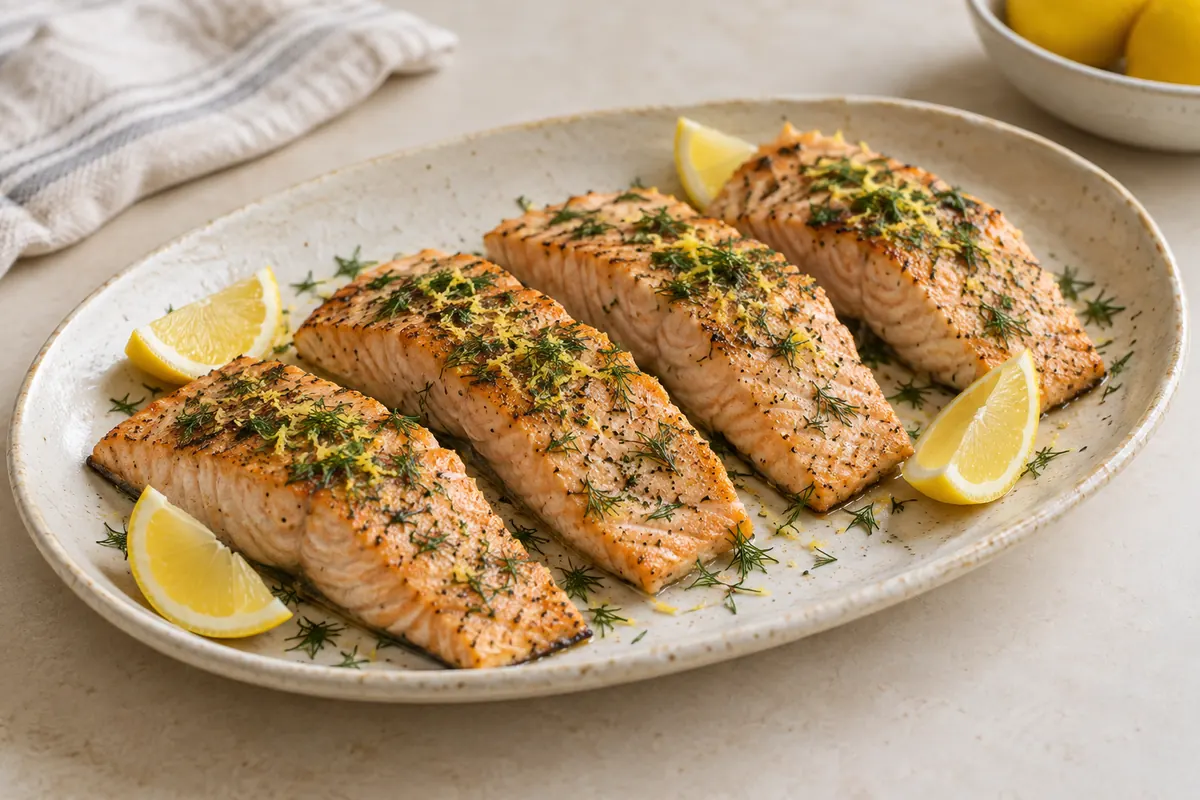
When adding raw meat or poultry, keep its handling separate from food that is already ready to eat. Follow a suitable recipe and the correct measured safe internal temperature for that food. Do not use a vegetable's tenderness as evidence that nearby meat is finished, or remove a browned piece before checking its center where required. Clean utensils matter at the end of cooking as much as they do at the beginning. Plan a clean tool and serving plate rather than returning cooked food to the dish that held it raw.
Make seasoning survive the oven
Long roasting changes delicate aromatics. A fresh herb, a little citrus zest, or a sharp sauce can be most effective after cooking, while sturdy seasonings may belong earlier according to the recipe. Think of seasoning in stages instead of putting everything in the initial oil mixture. This gives the finished dinner a fresh note without requiring a longer ingredient list. Taste an appropriately cooled cooked piece before deciding whether the entire tray needs more salt, acidity, or richness.
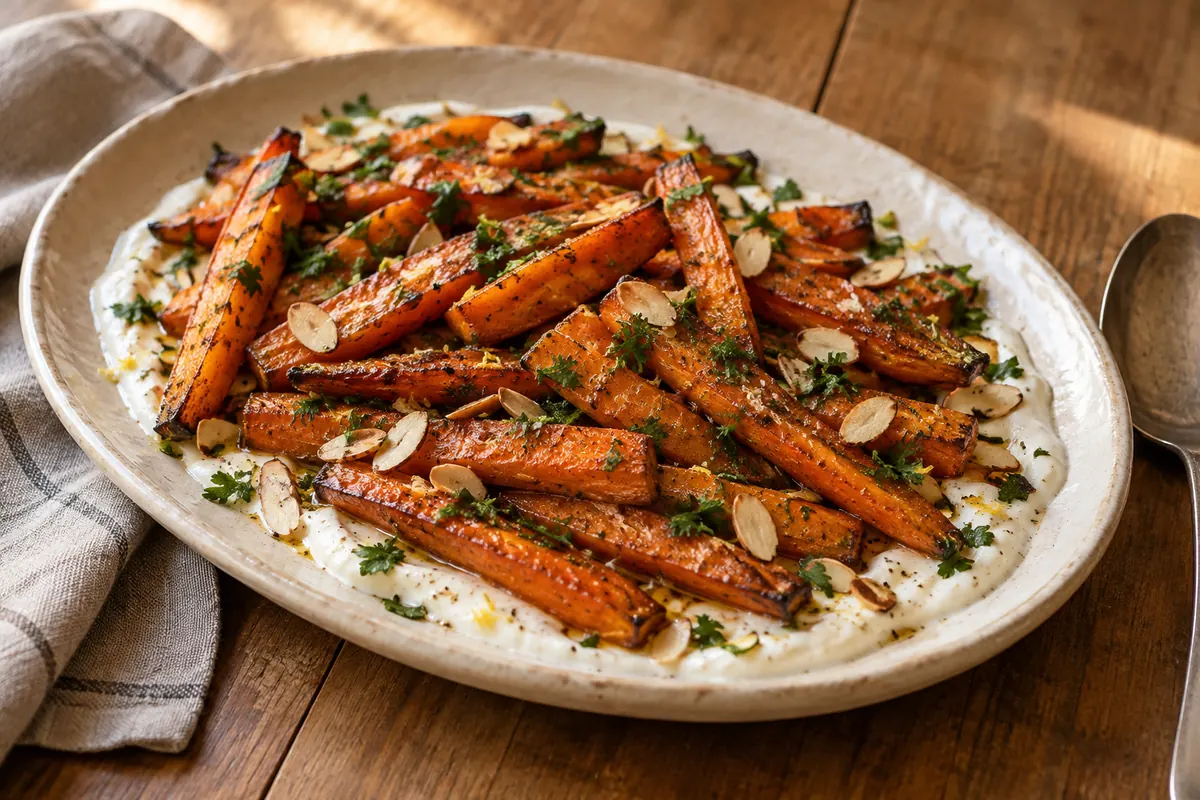
Sweet glazes and finely chopped ingredients can color quickly. Follow the recipe's timing for adding them and watch the pan rather than assuming that every coating tolerates the full roast. If a sauce is intended for serving, keep a clean portion separate from any mixture that touched raw ingredients. A spoonful of plain yogurt seasoned at the table can be enough beside a spiced vegetable tray. The contrast is useful because it adds coolness and moisture without changing the roast's basic schedule.
Use the tray as a component, not a complete identity
A pan of roast vegetables can become dinner in several ways. Serve it over beans, add an appropriate grain prepared separately, or put it beside a simple cooked protein. The important question is whether the meal feels complete for the people eating it. A few vegetables scattered around a tray may look abundant before cooking and shrink into a modest side afterward. Estimate portions realistically and give the meal another substantial element when it needs one, instead of compensating with an excessive amount of sauce.
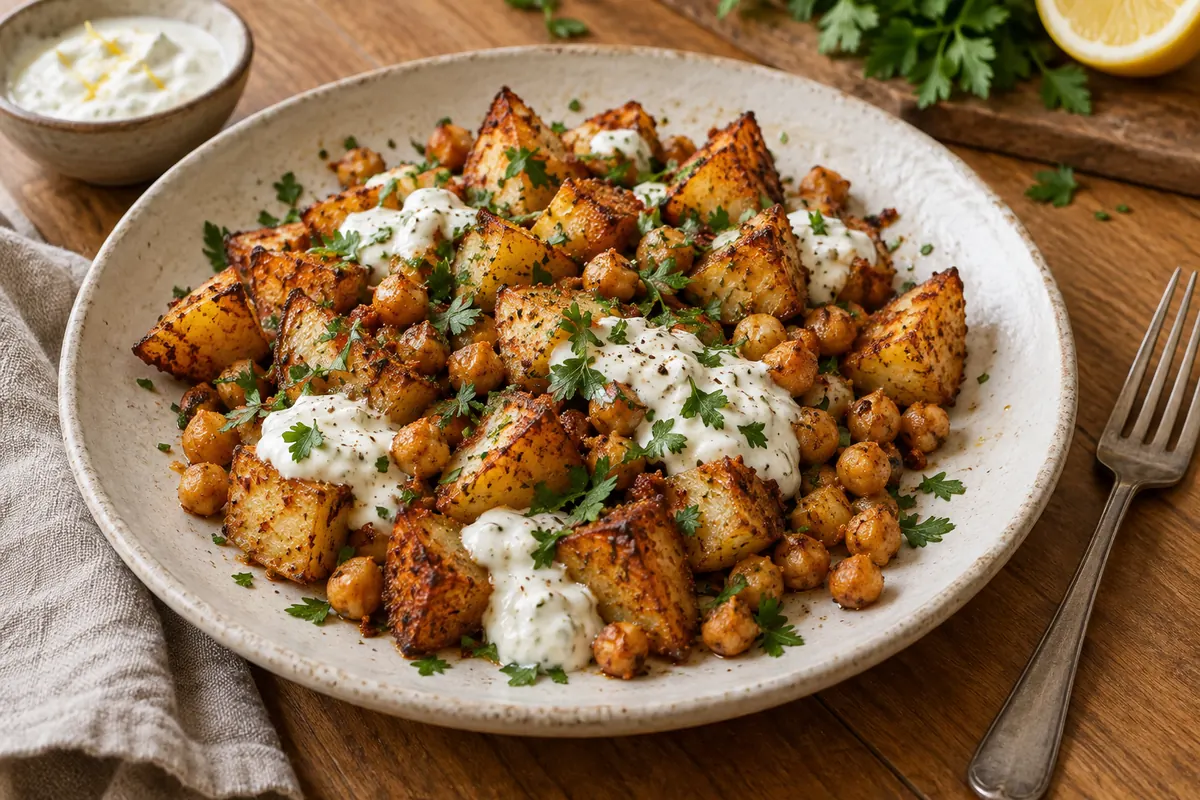
Keep contrasting textures in mind. Soft roasted squash may want something crisp; browned potatoes may welcome a juicy tomato or a fresh salad; chickpeas can sit beside a cool dairy sauce. These are ways to plan a plate rather than instructions for a new tested recipe. Use the individual recipes in our library for specific quantities and cooking methods. Choose a combination whose steps fit your available attention, so the side you add does not create more work than the tray removed.
Plan the landing, serving, and cleanup
Clear a stable heatproof landing space before the tray enters the oven. A fully loaded sheet pan is awkward to carry around a cluttered kitchen, and its rim may hold hot oil or juices. Use suitable dry oven protection and keep children, pets, and loose cords away from the route. Set out a serving utensil that can lift food without damaging the pan's surface. The last minute of dinner should not begin with searching for somewhere safe to put it down.
Follow the pan maker's care directions and let the pan cool appropriately before washing. Lining can help with certain jobs, but the lining material must suit the temperature and method. Do not assume that paper belongs under a broiler or that every reusable mat has the same limit. If browned residue remains, treat it according to the pan's material rather than scraping aggressively with the first tool at hand. A good tray becomes useful through repeated appropriate care, not through a promise that every dinner leaves it spotless.
Keep a short roster of compatible dinners
Build a short sequence from the actual ingredients. A tray of sturdy roots can start while a cold sauce and leafy accompaniment are prepared elsewhere. A more delicate vegetable can enter later if the recipe supports that combination, while herbs and crisp crumbs wait until plating. If the oven only browns one side well, follow the method's rotation guidance rather than repeatedly moving individual pieces at random. When raw animal ingredients share the plan, their handling and measured cooking endpoints remain separate checks from the vegetables' tenderness.
Keep two or three combinations that fit your usual shopping and oven. Rotate the finishing sauce or fresh accompaniment when you want variety, while preserving the cooking relationship that works. There is no prize for adding a new ingredient to every available gap. A well-planned sheet-pan dinner is satisfying because the food arrives with the textures you wanted and the work fits into the evening. The empty spaces on the tray are part of that plan, giving the ingredients room to do their job.
Keep in mind
Check each ingredient's doneness separately, including the measured safe internal temperature for meat or poultry.
Tray dimensions, oven clearance, and a comfortable hot-pan grip all matter.