A batch needs a destination before it needs a bigger pot
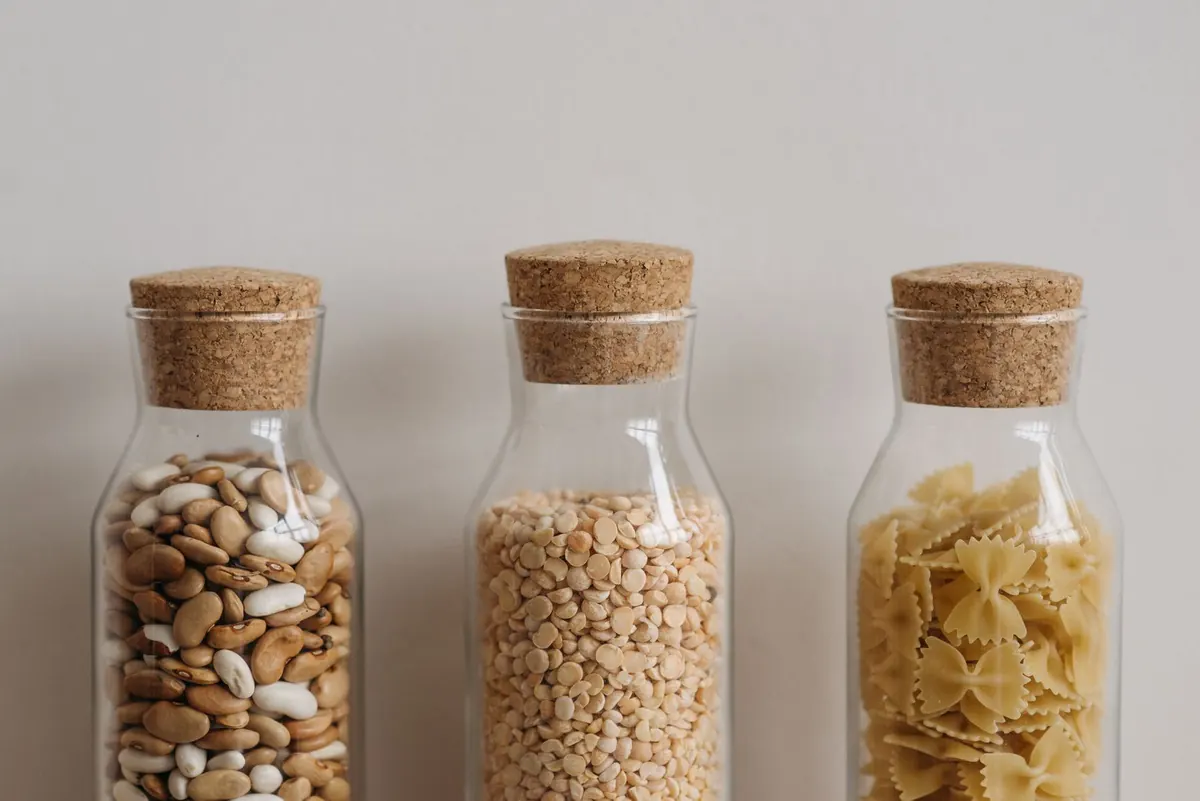
Begin with the number of meals you can reasonably use, rather than the size of the bag. Canned beans can be the better choice for a small kitchen, an uncertain schedule, or an evening without cooking time. Dried beans make sense when you have time to monitor a pot and a plan for the result. Compare the actual shelf prices, package sizes, and your energy costs if saving money is the goal. No single format wins every shopping trip.
Put it to work
Useful tools, at a glance
Soups and braises in an enameled pot
Lodge Essential Enamel 6-quart Dutch Oven, Island Spice Red
Choose one bean and learn how it behaves
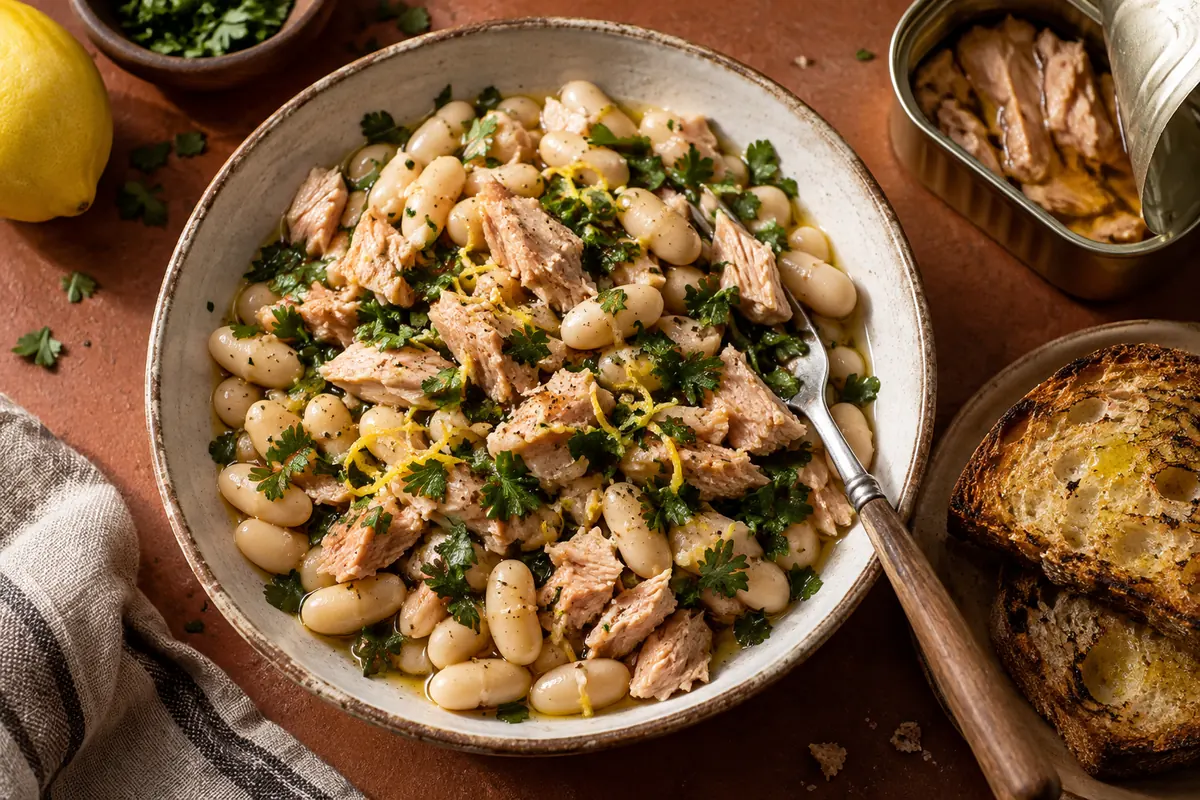
Pinto beans are useful when you want a creamy broth and an easy path toward mashed beans. White beans suit a lemony bowl, a tomato stew, or toast. Black beans can move toward a rice plate or a smoky vegetable skillet. These are starting points, rather than rules about which bean belongs to which cuisine. Choose a variety you enjoy, read its package, and keep the first batch's seasoning broad enough to fit the meals you have planned.
Sort dried beans for debris and rinse them. Follow reliable instructions for the particular variety, including any soaking and boiling steps. Kidney beans need particular care: FDA advises soaking for at least five hours, discarding the soaking water, and boiling in fresh water for at least thirty minutes; a slow cooker is unsuitable for cooking raw kidney beans. Using ready-cooked canned beans is a straightforward alternative. Do not treat a soft appearance or a long period on a low setting as proof that an inadequately heated bean is ready.
Let the pot do a limited amount of flavoring
Onion, garlic, a bay leaf, and a modest amount of salt can make a useful base without dictating every later meal. Leave elaborate spice pastes and sharp finishing ingredients for the portion you serve. Tomato, citrus, and vinegar can be added when the beans have reached the tenderness you want. A pot built around one strongly flavored sauce is convenient for tonight, but it narrows the next meal before you have decided what that meal will be.
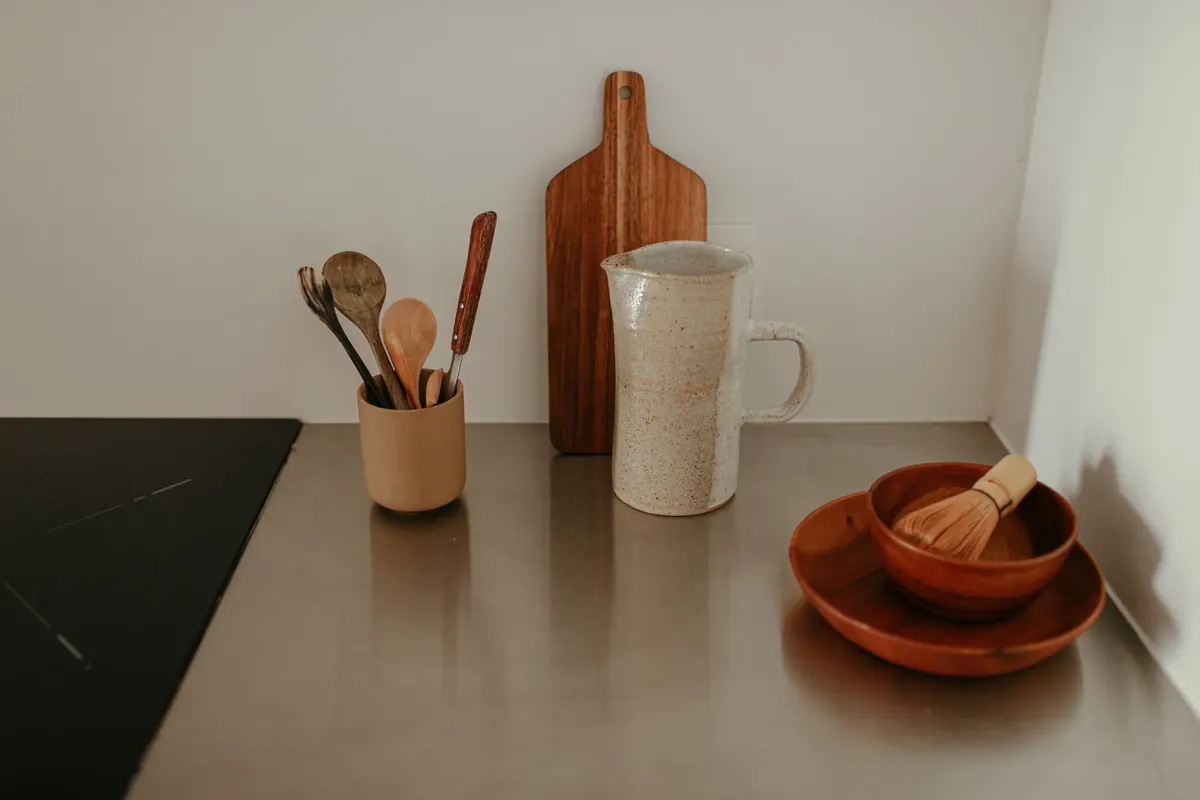
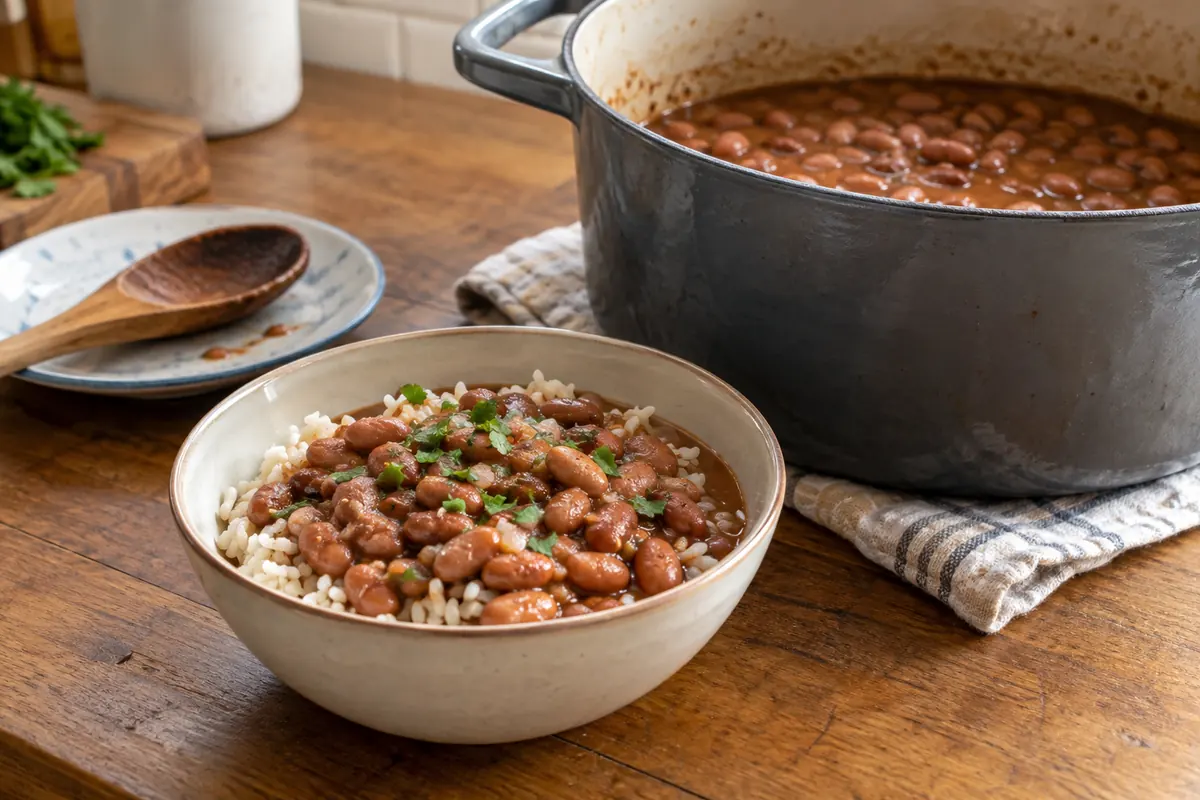
Use a pot with room for the beans and their cooking liquid, and adjust the heat to a controlled simmer once any required boiling stage is complete. A Lodge enamel Dutch oven is one option for a stove-top batch; a suitable pot you already own may work just as well. Add hot water when needed to keep the intended liquid level. Check several beans for tenderness because a single soft bean does not describe the whole pot, and older beans may take longer than expected.
Keep the broth with the beans
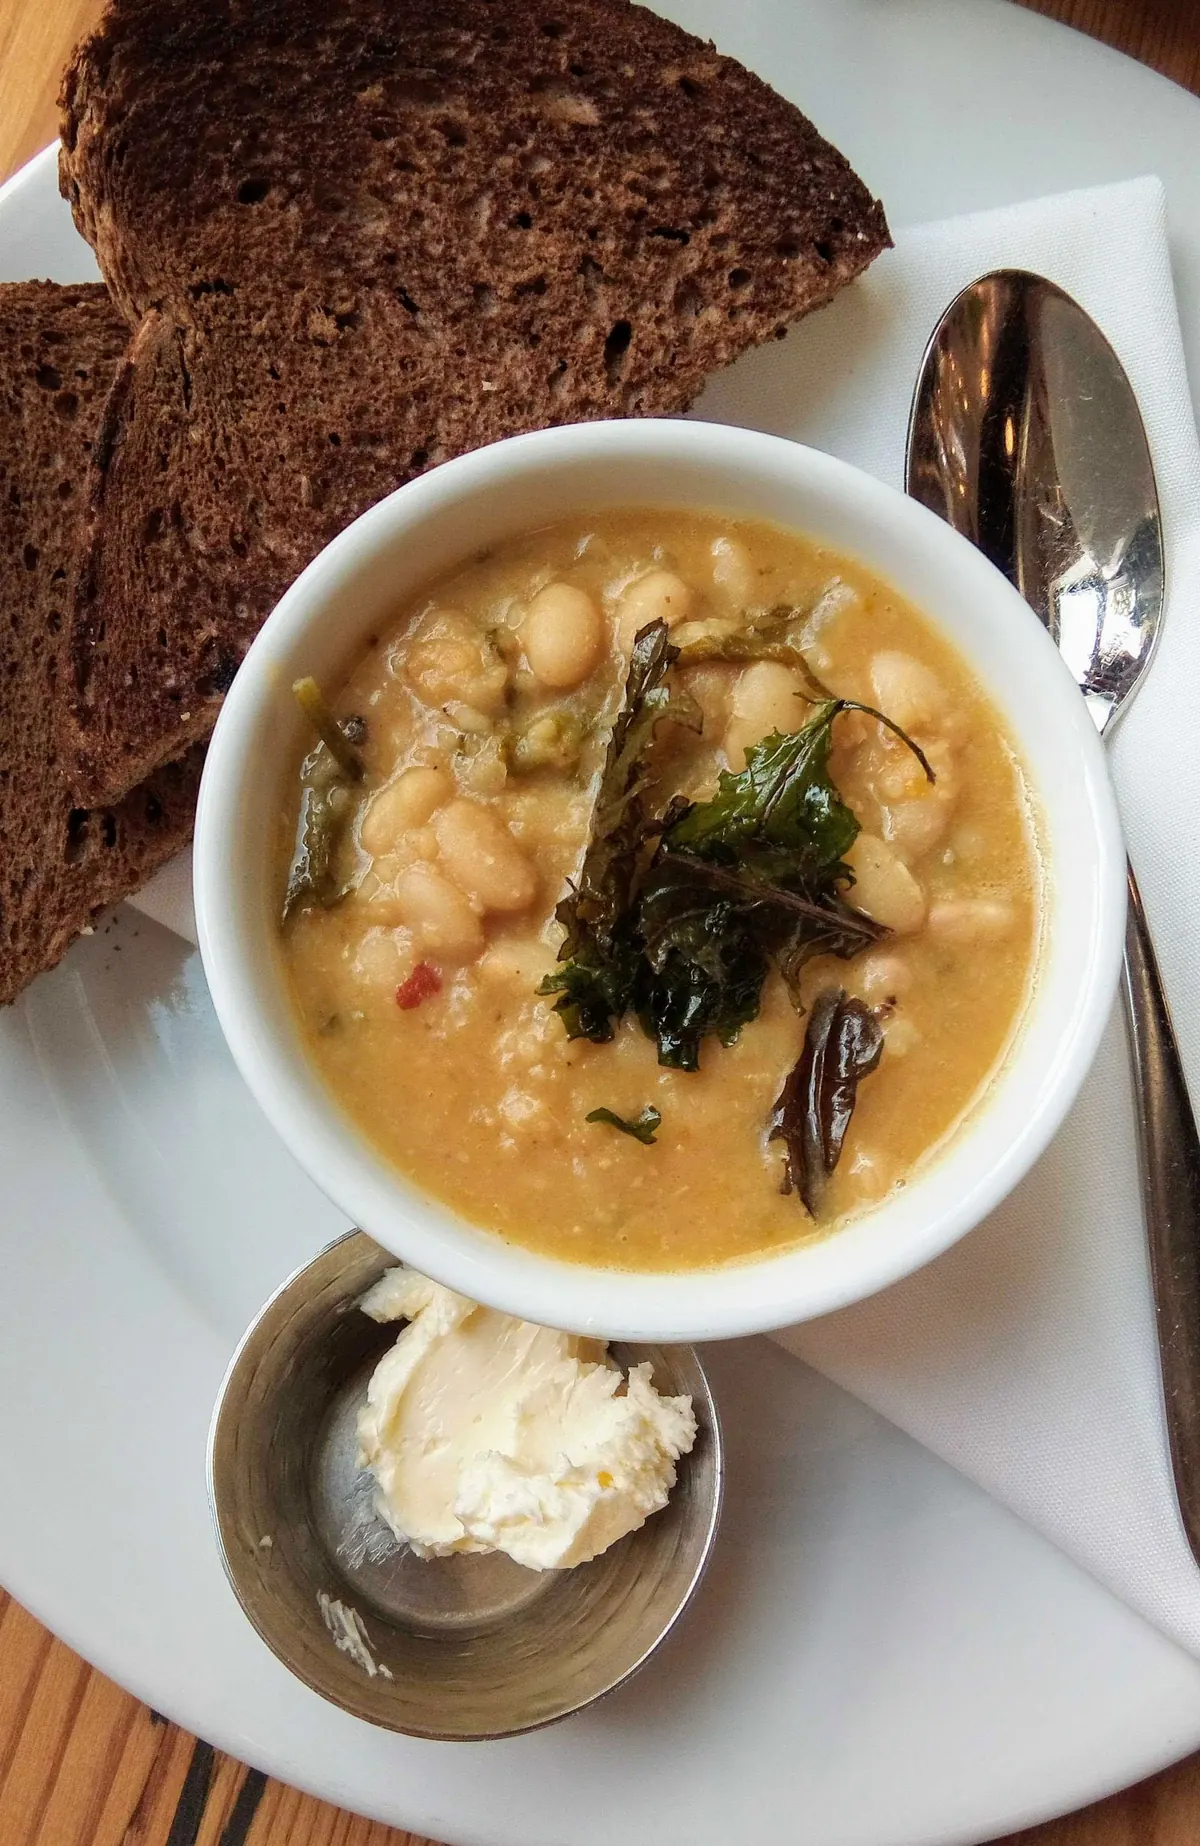
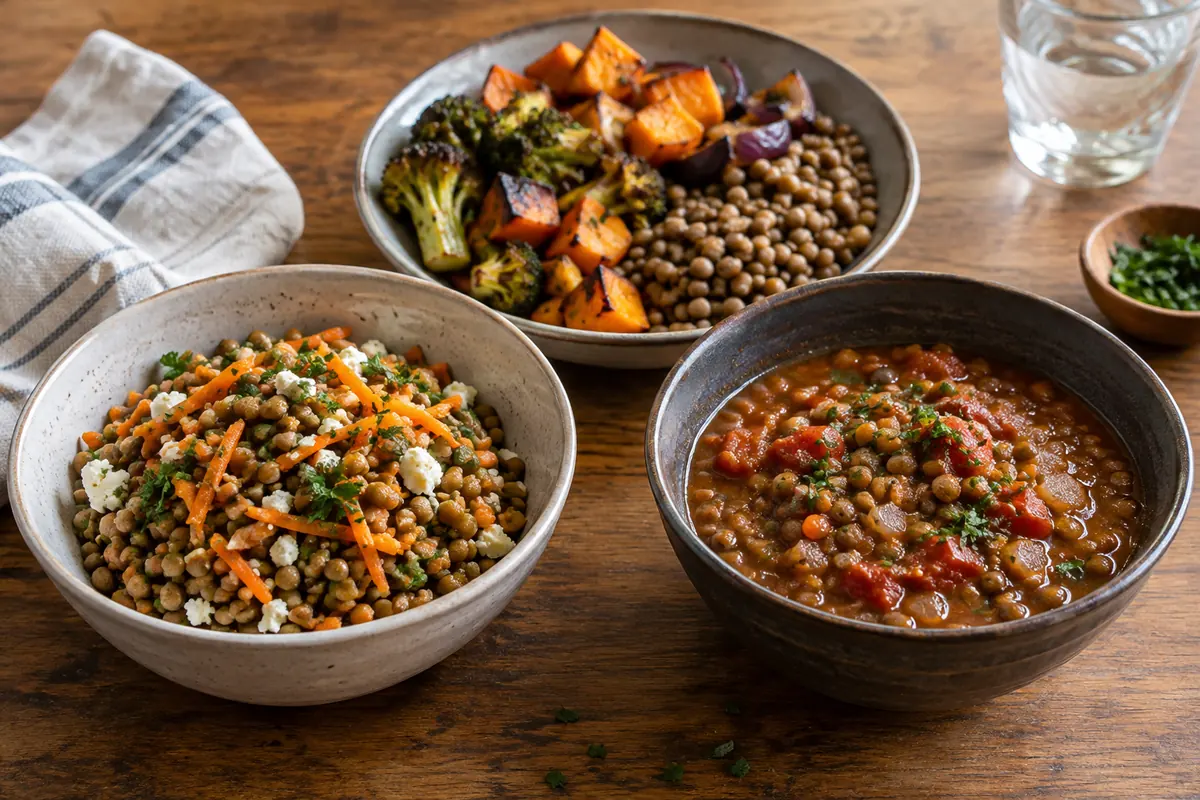
The cooking liquid can turn a portion into dinner with very little extra work. Ladle beans and broth into a shallow bowl, add a spoonful of olive oil or another finishing fat, and serve bread or rice alongside. A few cooked greens provide contrast without asking the beans to become an entirely different dish. Taste the broth separately before seasoning the bowl. If it is already concentrated or salty, a splash of water may help more than another spoonful of condiment.
For a thicker serving, reduce a small portion in a separate pan instead of boiling the entire batch until little broth remains. Mash some beans against the side of the pan to give a spoonable texture, then stop while there is still moisture. This leaves the unserved beans flexible enough for another use. Store them with sufficient liquid to avoid drying into a dense block, while accounting for the headroom and container instructions if you intend to freeze them.
Make the second meal different in texture
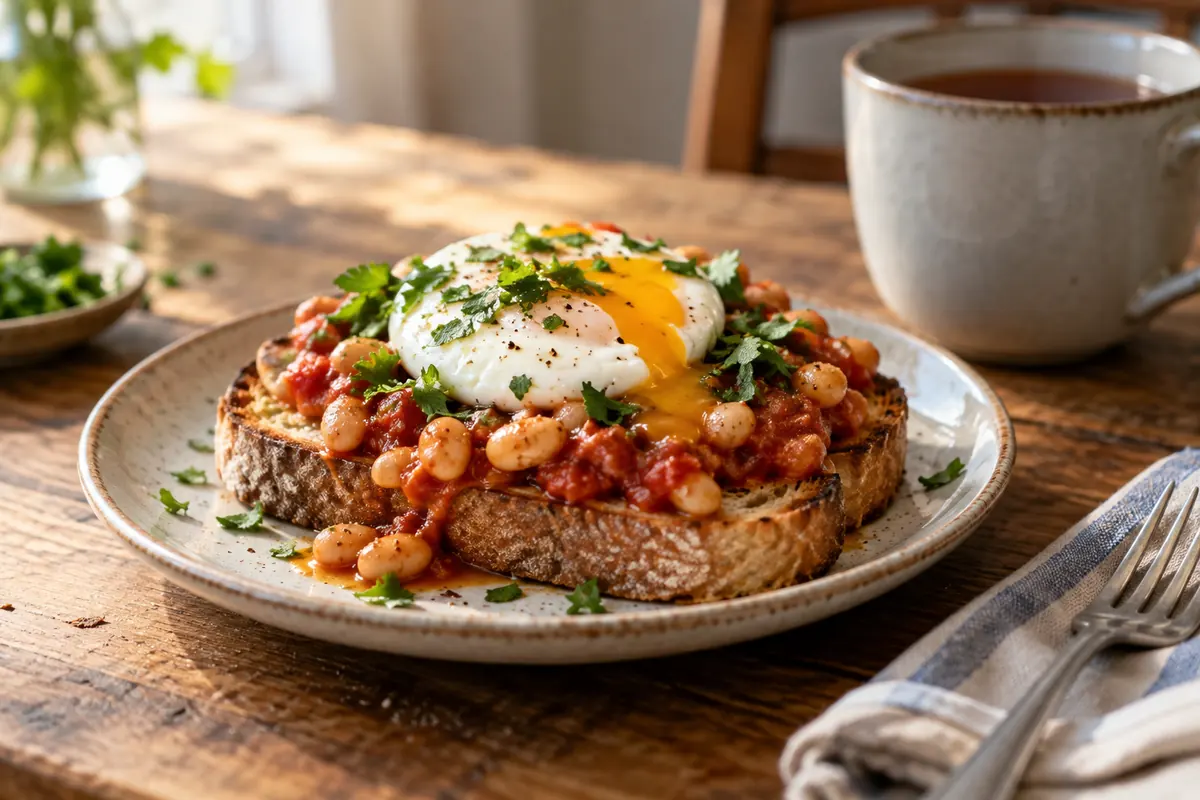
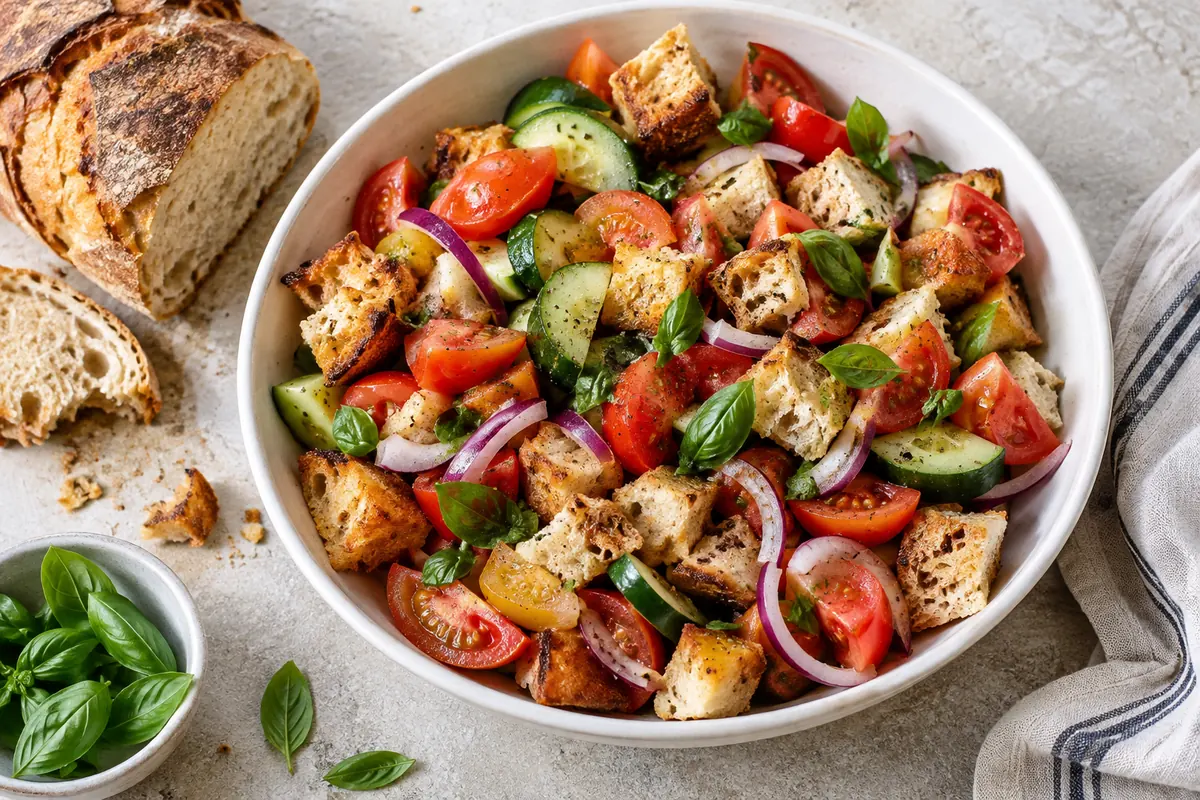
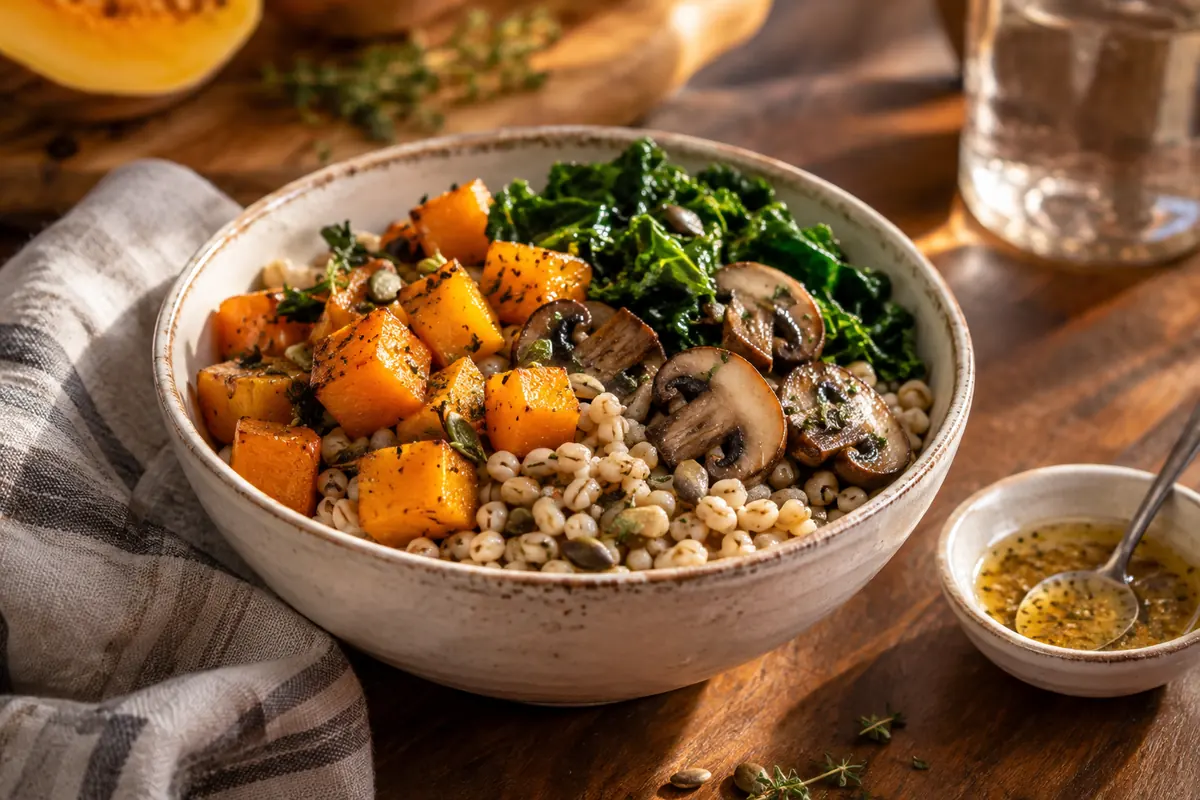
Toast offers a quick change from a bowl. Warm and lightly mash a portion, spread it over sturdy bread, and finish with lemon, herbs, or a little grated cheese. Keep the toast separate until serving so it retains a crisp edge. A simple tomato salad or cabbage slaw can provide the fresh contrast. You are using the original pot's work while changing what your fork encounters, which often matters more than introducing a completely new spice blend.
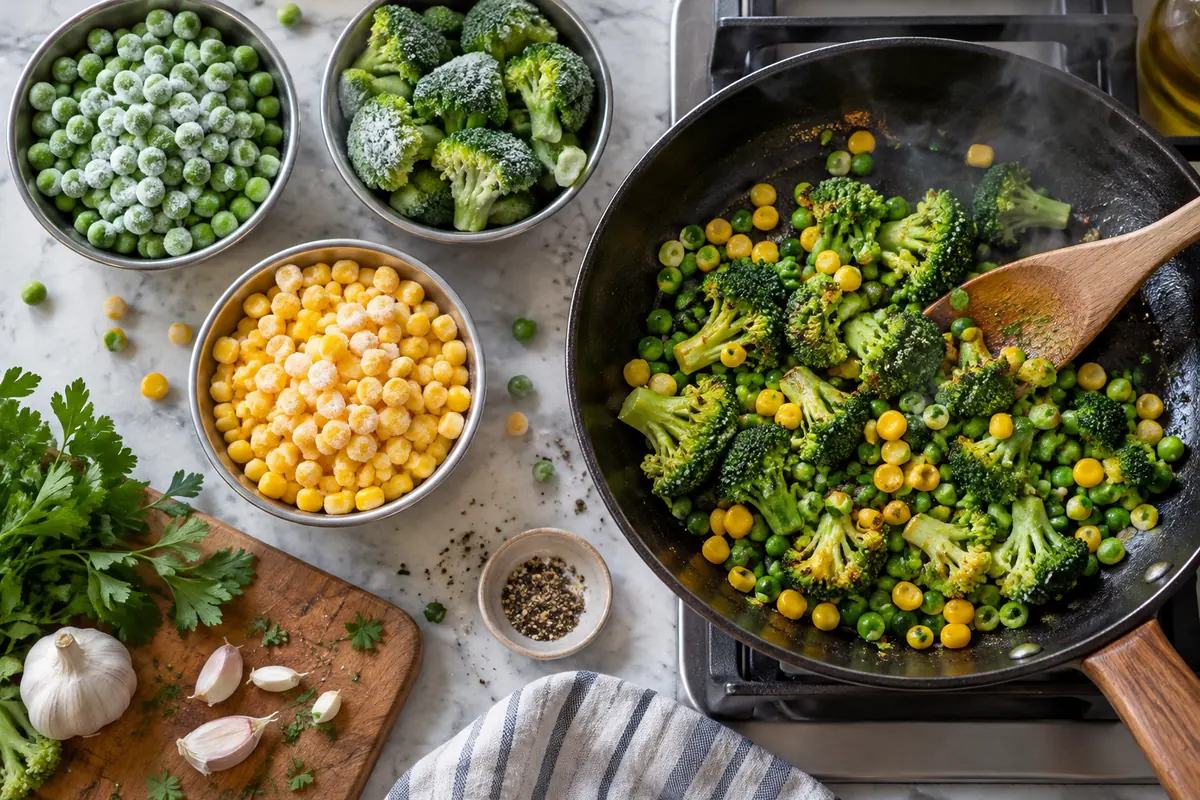
A skillet dinner moves in another direction. Cook sliced vegetables first, add drained beans once the vegetables have enough color, and use a little reserved broth to bring everything together. Corn, peppers, mushrooms, and cooked greens all ask for different amounts of time and space. Avoid emptying every refrigerated ingredient into the pan at once. A defined sequence lets the vegetables keep their own texture and prevents the beans from being stirred to pieces while you wait for raw ingredients to cook.
Freeze the portion you will not eat soon
A week's worth of different ideas does not mean keeping one cooked pot in the refrigerator all week. USDA guidance is to refrigerate leftovers promptly in shallow containers, keep the refrigerator at 40°F or below, and use refrigerated leftovers within three to four days. Freeze portions intended for later. Label them with the contents and date so the useful future meal does not become an anonymous container behind the ice tray. Freezing preserves food; it does not reverse unsafe cooling.
Reheat leftovers to 165°F, stirring as needed for an even result. A frozen portion can become a soup base with broth and vegetables, or be thawed safely in the refrigerator for a later meal. Follow container instructions for freezing and reheating, especially with glass, and do not move a cold vessel straight onto a burner. Modest portions are easier to use than one large frozen mass. Pack the amount you would want on an ordinary evening rather than the amount that happens to fill the container.
Spend the finishing ingredients with purpose
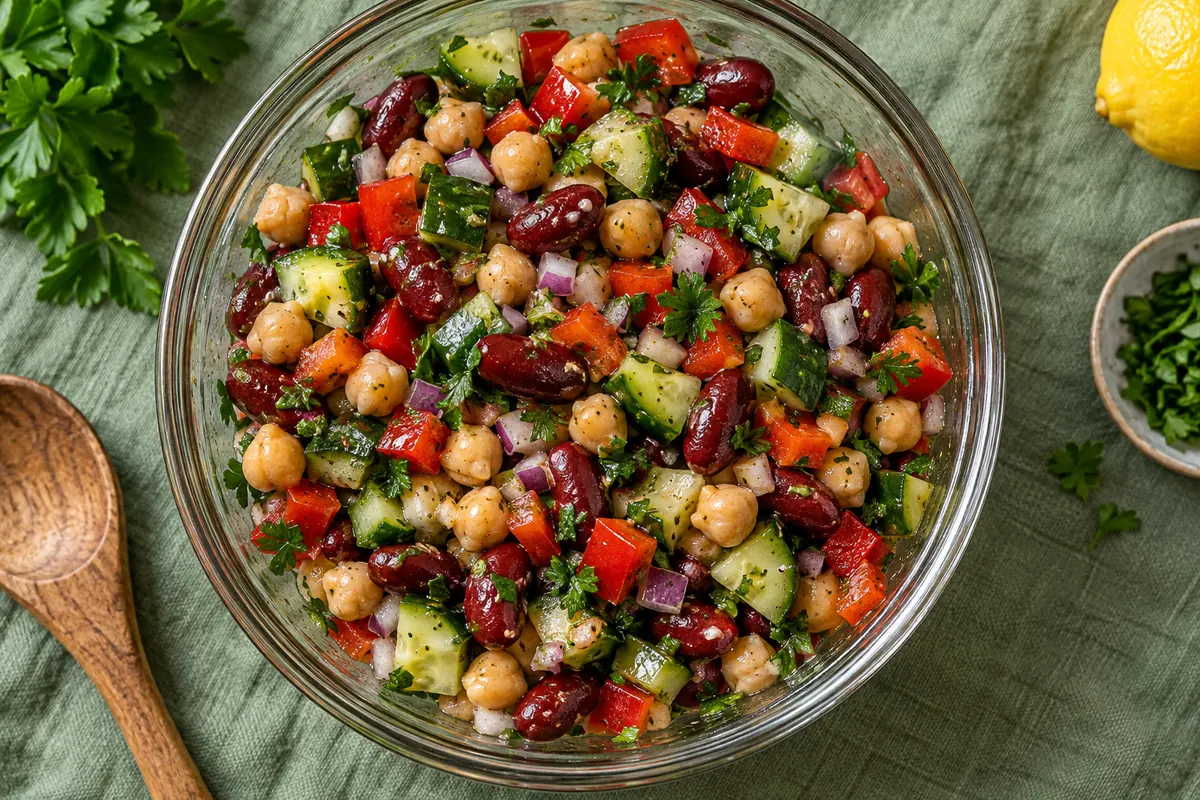
A jar of salsa, a bunch of herbs, and a block of cheese can make beans feel generous, but buying all three for every bowl can defeat a tight budget. Choose one ingredient that earns its place across several meals. Parsley might finish beans tonight and dress barley tomorrow. Cabbage might supply a slaw and then a noodle dinner. Use what is already open first, and judge a new purchase by its likely use rather than its promise on a single plate.
Equipment spending belongs in the same budget as the food. A suitable existing pot can cook a modest batch, and containers already in the kitchen may hold the portions comfortably. Prioritize a thermometer for checking reheated food over an extra appliance bought only for this project. Divide beans according to actual meals: enough broth and beans for a bowl, a thicker portion for toast, and a separately packed amount for the freezer. That prevents the cheapest large bag from quietly requiring more equipment and more repeated meals than the household needs.
Leave yourself an easy next dinner
After the first dinner, divide the remaining beans before adding any final toppings. Keep a refrigerated portion with its broth for a soup or toast meal within the safe storage period, and freeze the amount intended for later. Leave grated cheese, herbs, and crunchy vegetables outside those containers. Tomorrow's thick beans can take tomato and toast, while a frozen brothy portion can become a vegetable soup. A clear division gives each portion a different cooking job and makes it easier to retrieve only the amount the next meal needs.
A useful pot of beans supports the rest of the kitchen. It can make room for a more interesting vegetable, turn a few slices of bread into dinner, and provide a dependable meal when plans change. The goal is not maximum volume or a perfectly coordinated row of containers. It is a few meals that feel different enough to enjoy, with clear storage decisions and a manageable amount of cooking. That is where the economical promise becomes an ordinary habit.
Keep in mind
Freeze portions intended beyond the three-to-four-day refrigerated leftover window.
Follow variety-specific dried-bean instructions. Do not cook raw kidney beans in a slow cooker.